Our social:

Latest Post

Tuesday, July 4, 2017

Autumn color effect | Soft light look | Photo Effect
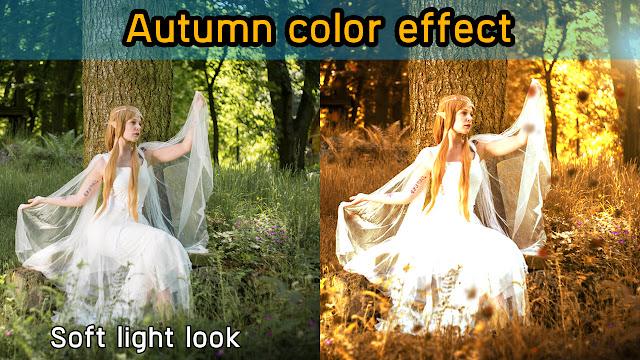

Autumn color effect | Soft light look | Photo Effect

Hello Friends welcome back , today will show u how to do Autumn color effect in Photoshop. in this tutorial i will show u two different and easy way to do that.

for this tutorial i m using #Adobe #Photoshop CC 2017. if u use earlier version of Photoshop. do't worry u can make same effect in CS also.

Ok, lets start to do it ..Open Photoshop Application ...

Download source image :



How to do ?

Method 1 : 


Step 1 : Go to Hue/Saturation , change the value .

Step 2 : Select Soft Brush and Paint over object.do not forget to select FG color.

Step 3 : Select Selective color , from drop download menu select Neutrals and change value of cyan, magenta and yellow amount.

Step 4 : Create New #Layer and fill it with black color. now go to filter and select Render .. Lens Flare.. and change the Bleed mode Screen. also reduce opacity.

Step 5 : Select Lavels .

Step 6 : Select Solid color with Black and change Layer Blending Mode Normal to Soft Light. and reduce opacity.

Step 7 : Select Curves and make it down for more darkness.

---------Finished Method 1---------

Method 2:

Step 1 : Duplicate the Image and select Lavels

Step 2 : Make new Layer and fill with Black now go to filter and select Render .. Lens Flare.. and change the Bleed mode Screen. also reduce opacity.

Step 3 : Placed ur Autumn leaves and Go to filter .. blur .. Gaussian Blur .

Step 4 : Select Channel Mixer and change Blending Option normal to lighter color.

Step 5 : Select Selective color , from drop download menu select Neutrals and change value of cyan, magenta and yellow amount.

Step 6 : Select solid color and fill with Black.

Step 7 : Select Step 2 Layer and from menu bar select Image.. Adjustments .. Hue/ Saturation or Press Ctrl+U .

Step 8 : Select color Lookup and reduce opacity.

Step 9 : Select Curves and make it down for more darkness.

---------Finished Method 2---------

If you have any questions please leave them below.
Monday, July 3, 2017

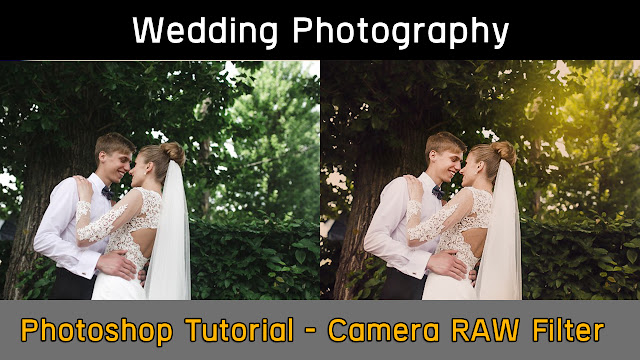
Camera RAW Filter | Wedding Photography | Photo Effect


Camera RAW Filter | Wedding Photography | Photo Effect 

Hello Friends welcome back , today will show u how to do Wedding Photography effect in Photoshop. this is very easy and Quick way to convert ur random image  to Wedding Photography style.

for this tutorial i m using #Adobe #Photoshop CC 2017. if u use earlier version of Photoshop. do't worry u can make same effect in CS also.

Ok, lets start to do it ..Open Photoshop Application ...


How to do ?

Step 1: Open a Image and make it duplicate ,Press Ctrl +j 

Step 2: Go Curves .. and Press Ctrl+I ,now change Bleed Option Normal to Screen. now slect a soft Brush , choose fg color white and paint over face or object. but remember to reduce opacity .

Step 3: select duplicate Image and step 2 to make marge . shortcut is ctrl+E.

Step 4 : go to Filter and select Camera Raw Filter. and now play it as per tutorial or ur as ur image need the effect.

Step 5 : Create a new Layer , change the Bleeding mode ,Normal to Screen. and reduce opacity.

Step 6 : add a Gradient Map . and reduce opacity.

Step 7 : add a color Lookup . and select from the droop down menu .. Soft-warming look.

Step 8 : add a curves . and reduce opacity.

Step 9 : add a Photo filter . and select all the  layer and make group , or ctrl+G
   

If you have any questions please leave them below.

Saturday, June 24, 2017

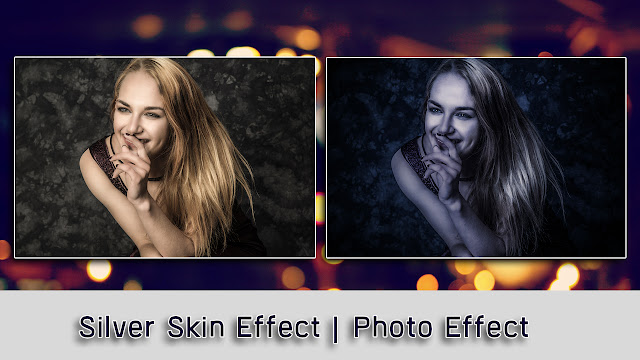
Silver Skin Tone | Photoshop CC Tutorial | Photo Effect


Silver SkinTone | Photoshop CC Tutorial

Hello Everyone. welcome again. today i will show u how to make silver tone on skin.this is very easy and unique way.
for this tutorail i m using #Adobe #Photoshop CC 2017. if u use earlier version of Photoshop. do't worry u can make same effect in CS also.

Do not forget to check my other stuff : https://goo.gl/mYWK7a

Download source Image: https://goo.gl/dGcY7D


Ok, lets start to do it ..Open Photoshop Application ...


How to do ? 
Step 1: Open a Image
Step 2: Go to Filter
Step 3: Camera Raw Filter
Temperature : -50
Contrast : +100
Highlight : -100
Shadows : +100
Whites : -100
Vibrance : -50/60 (as per images)
Step 4: Lens corrections
vignetting, Amount: -100 and Midpoint: 0
Press Ok for next Step , Make another duplicate , then go to filter, Blur then Guassian Blur ,put amount as per ur Image.
Now use Layer Mask and Paint area by soft Brush.

Step 5: Use Brightness and contrast for Bright paint area.
Step 6: final step is use Photo filter. thats it :) 
Oh shortcut i used for make snap shot: Ctrl+alt+shift+E
and now follow the tutorials for remaining step .. 

If you have any questions please leave them below.

Wednesday, June 21, 2017

Vintage Color Effect Photoshop Tutorial | Photo Effect


Hello everyone,welcome back again . today i will show u to make a random picture to Vintage Color #PhotoEffect in #Photoshop.for this tutorail i m using #Adobe #Photoshop CC 2017. if u use erliar version of Photoshop. do't worry u can make same effect in CS also.

do not forget to check my other stuff: https://goo.gl/mYWK7a

Download Images :

Ok, lets start to do it ..Open Photoshop Application ...


How to do ? 
Step 1: Open a Image
Step 2: Go to Exposure.. and Change the amount..as per ur Image require or follow the video.
Step 3: go to selective color ,then play with the color. 
Step 4: apply gradient.
Step 5: apply one more gradient.
Step 6: open color balance option ,
Step 7: Create a new layer from layer panel and go to edit ..chose fill ..contents 50% Gray , and press Ok.change Bleed Option normal to soft ligh. select Burn tool and burn edge area. also reduce the Opacity .
Step 8: apply another gradient color,. now add Photo fillter and reduce Opacity ..

and now follow the tutorials for remaining step .. 

If you have any questions please leave them below.
Creative ink splash / Splatter Photo Effect tutorial.


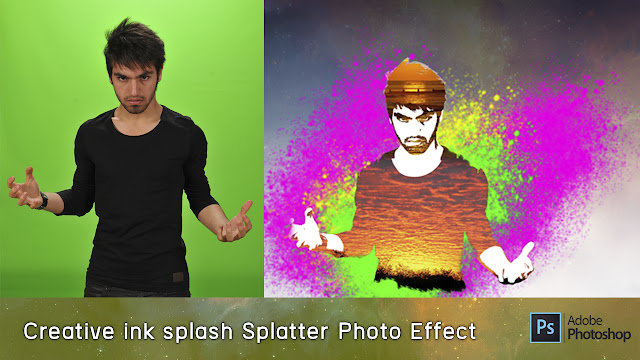
Creative ink splash / Splatter Photo Effect tutorial.
Hello everyone,welcome back again . today i will show u to make a random picture to Creative #ink #splash / #Splatter #PhotoEffect in #Photoshop.
do not forget to check my other stuff : https://goo.gl/mYWK7a

Download Images and Brush's :  


Ok, lets start to do it ..Open Photoshop Application ...


How to do ? 
Step 1: Open a Image
Step 2: Remove the Background by using magic wand tool.
Step 3: go to images ,then select Adjustments , Desaturate or press Shift+Ctrl+U
Step 4: go to images ,then select Lavels or press Ctrl+L , (change the value as per ur Images require)
Step 5: select the installed #Brush and follow the video . 
Step 6: from the botom panel select #Threshold levels and change the value . 
Step 7: Now open the bg imgaes , then copy and paste here.. 
Step 8: Now open another bg imgaes , then copy and paste here.. 
and now follow the tutorials for remaining step .. 

If you have any questions please leave them below.
Tuesday, June 13, 2017

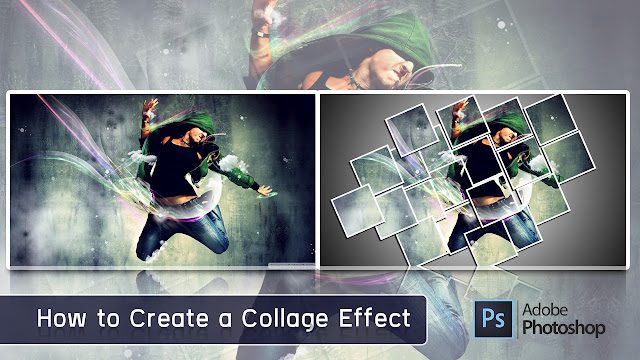
How to Create a Collage Effect - Photoshop Tutorial | Photo Effect


Hello every one, welcome back . today i will show u how to create an awesome collage effect in Photoshop.this is very easy and unique way to make collage effect.and this tutorial not for beginners its also for pro designer ;) and check my other stuff : https://goo.gl/mYWK7a

so no more talking . start learning ..

Download the Source Images :  https://goo.gl/acSUQC


How to do ? 

Step 1: open a Image 

Step:2: Make Duplicate .

Step 3: Add Gradient 

Step 4: changed the position of Duplicate image.

Step 5: Make a Rectangular Shape and convert to Rastarize Layer , and make one more . as per video.

Step 6: Add some Drop shadow.

Step 7: Now make Clipping mask .

Step 8: Make Group and make duplicate layer . or use shortcut ctrl+j

Re-feat the step 8 process .. 

If you have any questions please leave them below.
Monday, June 12, 2017

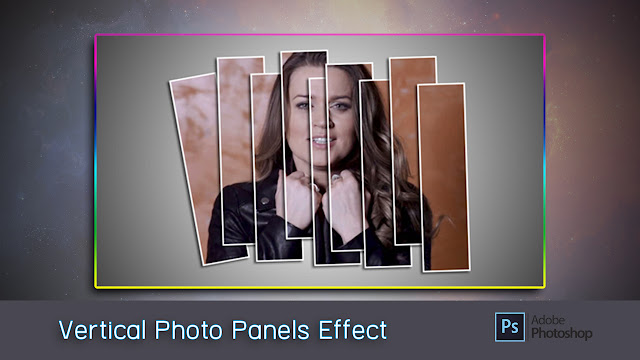
Vertical Photo Panels Effect With Photoshop | Photo Effect


Vertical Photo Panels Effect With Photoshop | Photo Effect

In this #Photoshop #Tutorial we'll learn how to create the illusion a single #Photo being a series of vertical panels. it may look Difficult But it's easy and within a minute we'll do.for this tutorial, I will use Latest Version of Photoshop but u can do it if u use Photoshop CS6 also.

Grab source Image from following link  : https://goo.gl/SwGRbx

How To Create Vertical Photo Panels?

Step 1: Add A White Solid Color Fill Layer

Step 2: Step 2: Turn Off The Solid Color Fill Layer ( Optional)

Step 3: Select The Rectangle Tool

Step 4: Set The Tool Mode To Shape

Step 5: Draw The First Panel

Step 6: Rotate The Panel With The Free Transform Path Command

Step 7: Open The Blending Options


This opens the Layer Style dialog box set to the Blending Options in the middle column. First, to make the image visible inside the panel, change the Knockout option in the Advanced Blending section from None to either Shallow or Deep (I'll choose Shallow but either one will work for our purposes here). Then, lower the Fill Opacity all the way down to 0%:

Step 8: Add A Drop Shadow To The Panel

Step 9: Duplicate The Panel Layer

Step 10: Move The Copy Below The Original

Step 11: Move And Rotate The Copy With Free Transform Path

Step 12: Repeat The Same Steps To Add The Other Panels

It's Really easy and Creative way to make a Vertical Photo Panels.

Do not forget to check my Other Stuff: https://goo.gl/luuVZc


Sunday, June 11, 2017

Lighten And Brighten Eyes With Photoshop|Photo Effect


Lighten And Brighten Eyes With Photoshop|Photo Effect

How To Lighten And Brighten Eyes With Photoshop, its all about adjustment layer, blend mode,layer mask and Brush tool.its very easy and creative way to make that effect.just clicking ur mouse and use ur skills.

In This tutorial i will be using Photoshop CC2017 latest version. but dot worry u can edit like this with an older version of Adobe Photoshop,like CS6 to all Photoshop CC version.

How to do ? 

Just download this Images from following Link: 


Step One: Open ur images, Ctrl+O or file > Open > 

Step Two:  Add A Levels Adjustment Layer > To add one, click on the New Fill or Adjustment Layer icon at the bottom of the Layers panel.
Then, choose Levels from the list. Nothing will happen  ? ahh ok 

Step Three: Change The Layer Blend Mode To "Screen"

Step four: Fill The Layer Mask With Black

Step Five: Select The Brush Tool and  Paint With White Inside The Eyes .
Finished ..


If you have any questions please leave them below.


Saturday, June 10, 2017

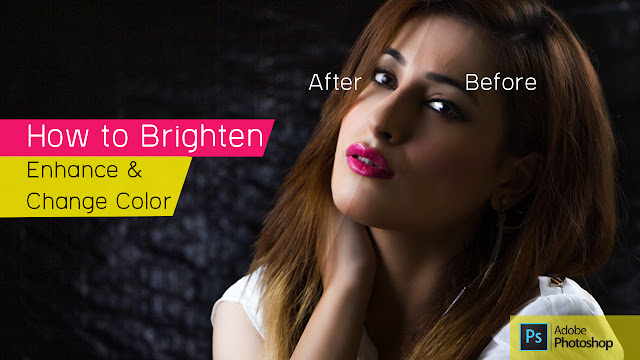
Selective Color Effect With Photoshop | Photo Effect


Selective Color Effect With Photoshop | Photo Effect

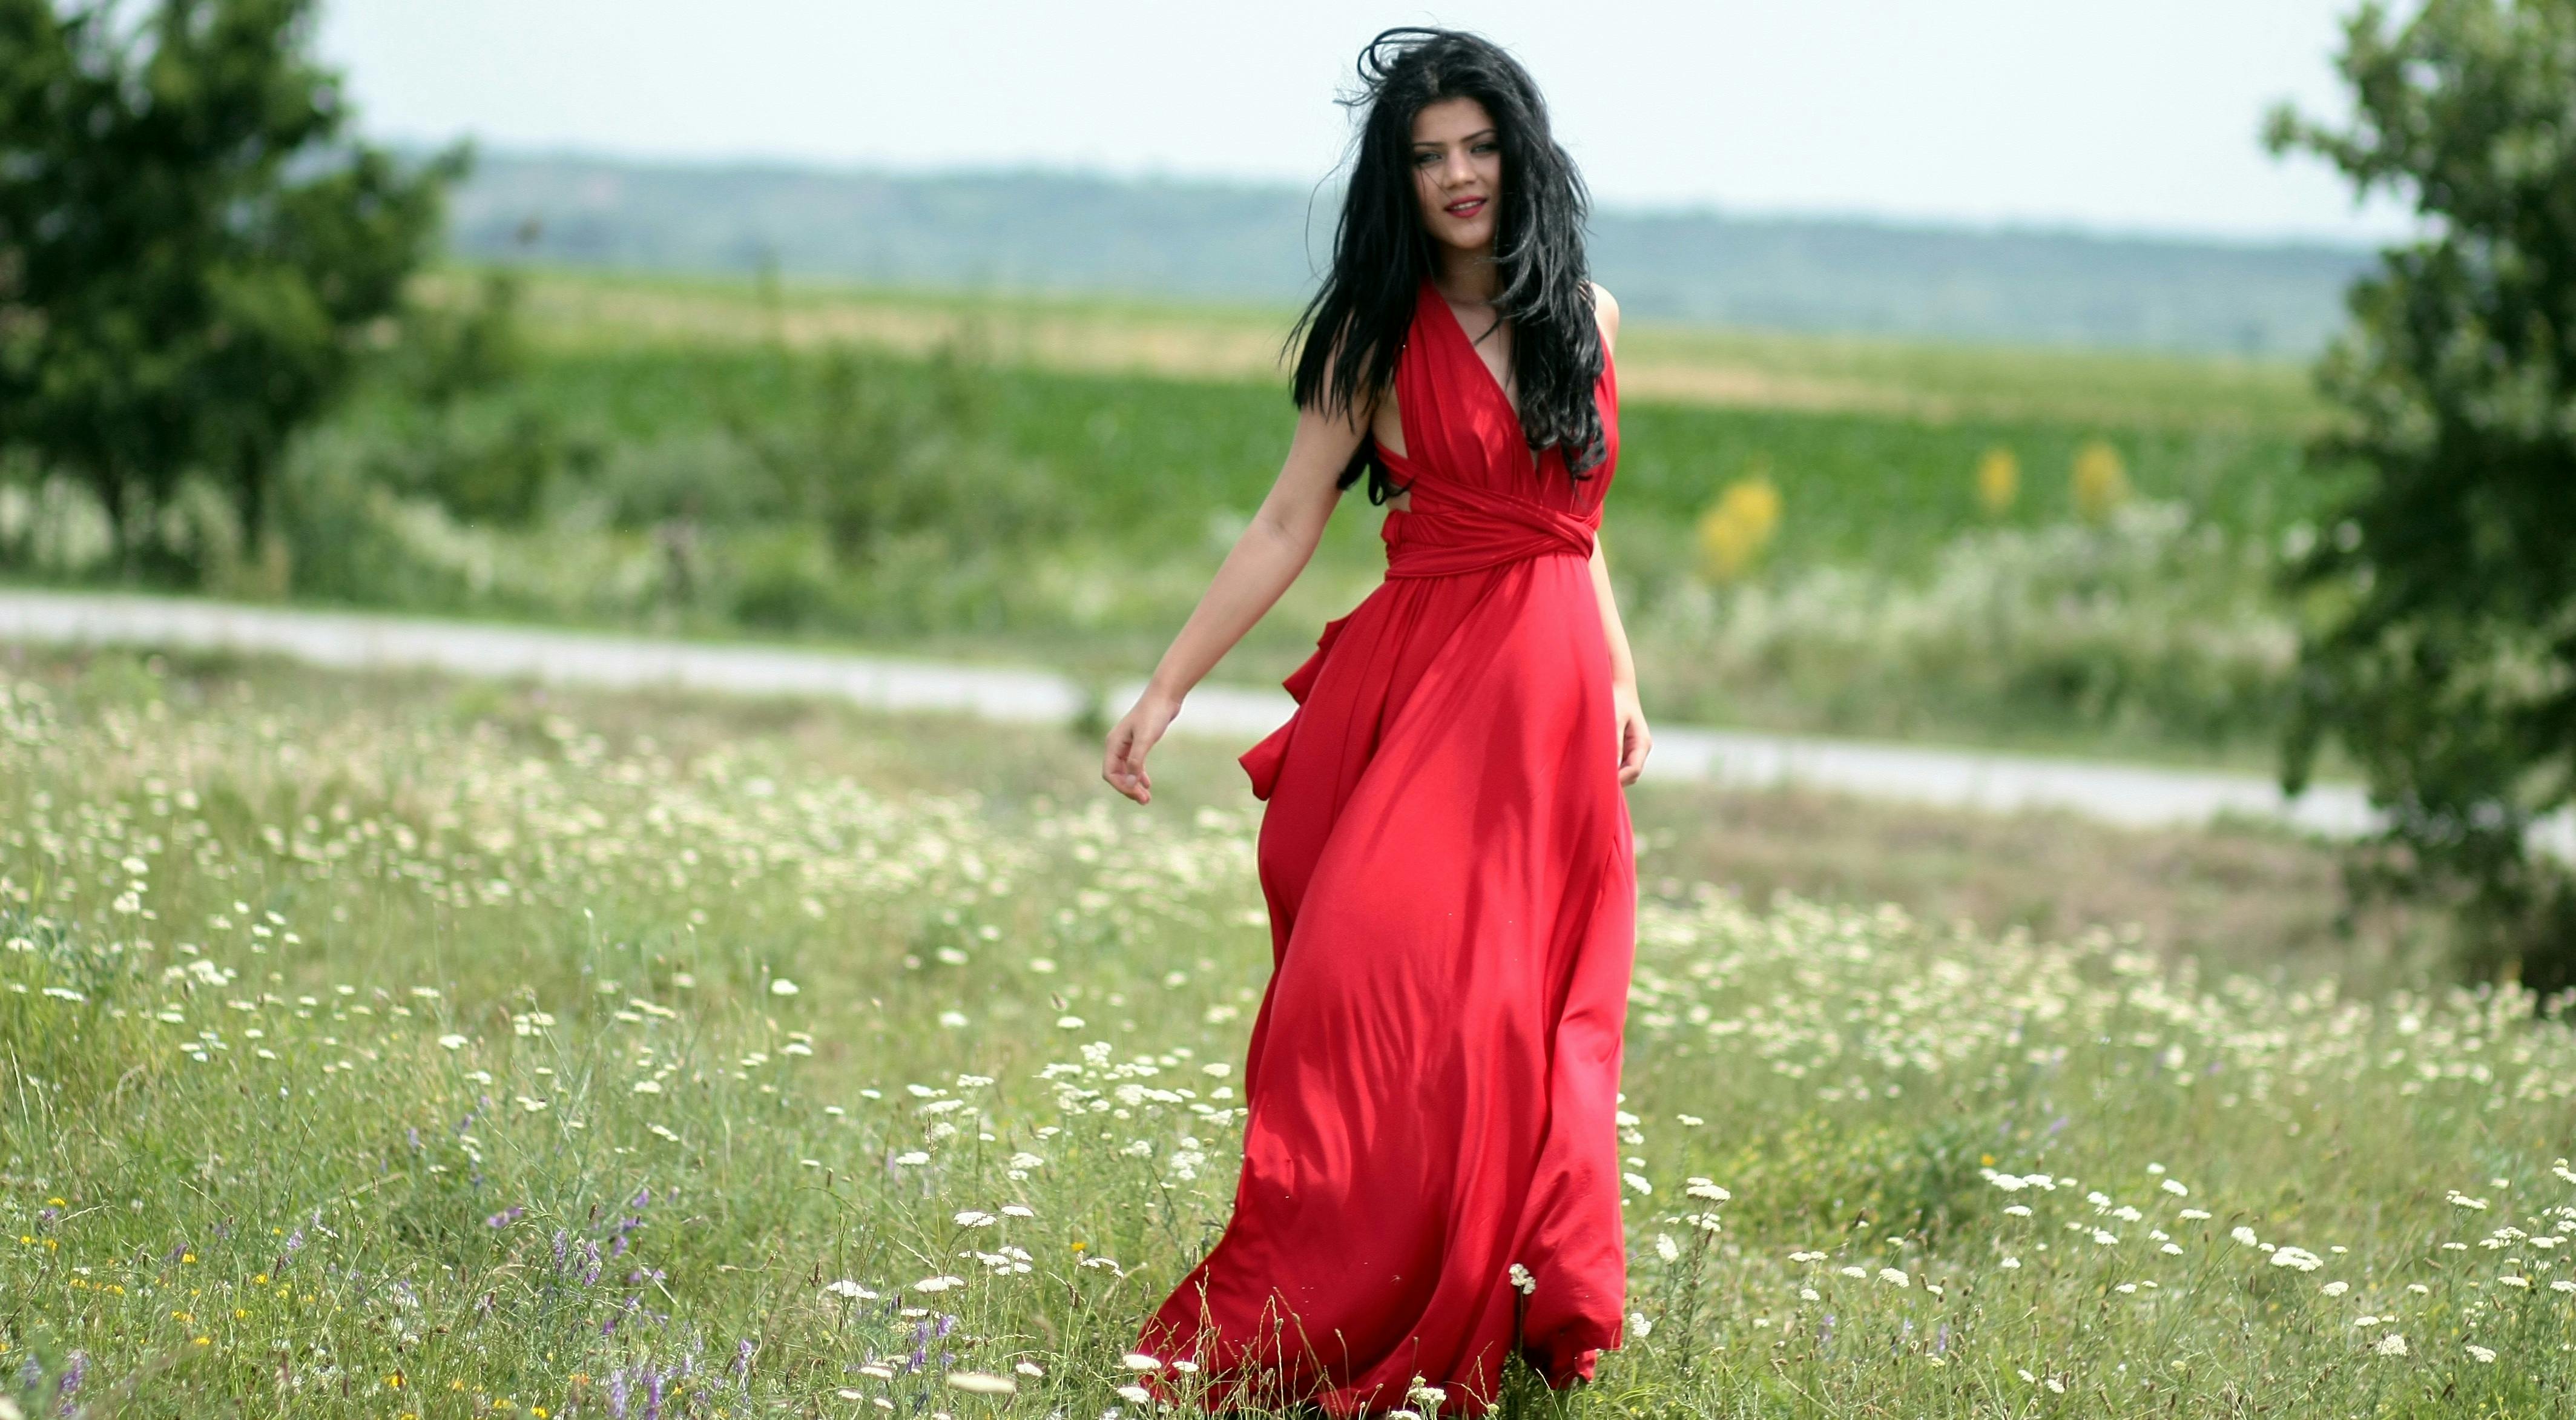
in this Photoshop tutorial, we will learn how to easily add a selective color to an Images. overall the full image will be black and white and in the part of object some area will be color as per designer demand . so lets start ..


Get the Source Images: https://static.pexels.com/photos/160689/girl-dress-red-plain-160689.jpeg

If you have any questions please leave them below.

Friday, June 9, 2017

Create Reflections in Photoshop | Photoshop Effect


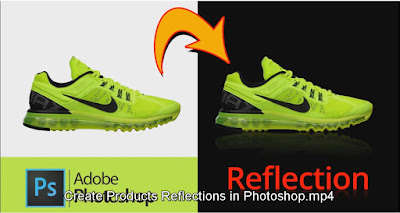
Create Products Reflections in Photoshop

In this Photoshop text effects tutorial, we're going to create text & Products reflection effect on Photoshop. This effect has been used everywhere in advertising, web banner . eCommerce products and many more other subject, it's very easy & professional way to do.so lets get start .... 


Converting Color Photos To Black and White In Photoshop


Converting Color Photos To Black and White In Photoshop


In Photoshop's earlier days, converting a color image to black and white was not as simple or as intuitive as it is today. At least, not if you cared about the results. Back then, many Photoshop users simply removed the color from the image, either by desaturating it or by converting it to Grayscale. These methods were quick and easy, and can still be used today. But they offer no control over what the black and version will look like. They simply toss away the color. And a color image, suddenly without color, often looks flat, dull and lifeless.

Watch the Full Video: 


Saturday, May 27, 2017

Free Smart Photo Frame Mockup PSD | Free Download


We designed for all logo/Photographer the most perfect Photo/logo smart Fame mockup PSD. this is in PSD format. So Designers and artists can place their File by using smart Layer option. this is editable format. you can also change the background color.Feel Free to download and must watch our others freebie.


Free Smart Photo Frame Mockup PSD

Specifications:

File Type: Psd
Smart-Layer: Yes
Mock-up Size: 2800×2650 pixels
File Format: WinRar
Extract only with: WinRar
File Size: 7.97 Mb


Note: Free Mock-up Zone allow you to use mock-up (freebie) personal and commercial purpose, but Back-Link is very important.

Photoshop Tutorial : Put an Image in Text | Photoshop Text Effect


Photoshop Tutorial : Put an Image in Text | Photoshop Text Effect

Learn how clipping masks in Photoshop make it easy to place any image inside text or How to Place an Images in text using Photoshop.You'll find the complete text tutorial in the video.

so in this episode we will learn How to Place an Image in Text in Photoshop, for this tutorial we need some materials like one stock free Images , some Text and Idea ;) 


If you have any questions please leave them below.


Background Sound:
El Magicia by Kevin MacLeod is licensed under a Creative Commons Attribution licence (https://creativecommons.org/licenses/by/4.0/)
Source: http://incompetech.com/music/royalty-free/index.html?isrc=USUAN1100242
Artist: http://incompetech.com/
Thank you for watching!

Friday, May 26, 2017

How to Transform PHOTO into Pencil DRAWINGS | Photoshop Effect


How to create photo to sketch in Photoshop. 

What's up guys, today i will show u how to create photo to sketch in Photoshop, its very easy and more fun . 
Photoshop CC tutorial showing how to transform photos into pencil drawings with in a minute. 


If you have any questions please leave them below.
Thursday, May 25, 2017

How to Put Image Inside Text | Photoshop CC | Text Effect


With a very Simple and Quick way to Put a images into Text in Photoshop CC, Today i will show you how Place a image and create nice typo.enjoy
so i hope you will learn something from this tutorial.


Resource i used: 
Background and images download from google.com/images
Find the Brush : https://goo.gl/2ym3Dn

Sunday, May 21, 2017

Workspace with Devices Mockup free Download | PSD


A great workspace mockup showing a desk with iMac, iPad and iPhone. PSD file with three smart layers (for each device). Dimensions: 4500 x 3000 px.


What include:

License: FREE for Both Personal and Commercial.
File Type: Psd
Smart-layer: Yes
Dimensions: 4500×3000 Pixels
Layers: Smart-Objects
Mock-up File Format: normal
File Size: 5.41 MB


Friday, April 7, 2017

Photoshop for Beginners Part 10 (Shape Tool)


Welcome to Photoshop beginner tutorial,in this tutorial we will learn Basic Photoshop Shape tool how to use.i will show you how to create Custom shape and how to install download shape.so stay tune and watch it.Please support me by like my video and subscribe my channel.


If u think ,This Tutorial is useful for u ,then do not forget to Subscribe :) ur comment will me more appreciate:)

This my Official Blog, so now u can follow me any where :) 
http://learnwithobhi.blogspot.com/2017/04/photoshop-for-beginners-part-09.html

Follow me on Facebook  : https://www.facebook.com/learnwithobhi
Follow me on Twitter   : https://twitter.com/theobhi
Follow me on Google+   : https://plus.google.com/+Muhammadobhi
Follow me on Linkedin   : https://www.linkedin.com/in/mohammedobhi/


Thanks for Watching ,Do not Forget to comment (y)


Photoshop for Beginners Part 09 (Type Tool)


Photoshop for Beginners Part 09 (Type Tool)

Welcome to Photoshop for Beginners tutorials, in this tutorials u will learn how to use Type tool,so stay tunes and watch it free. 

If u think ,This Tutorial is useful for u ,then do not forget to Subscribe :) ur comment will me more appreciate:)


This my Official Blog, so now u can follow me any where :) 
http://learnwithobhi.blogspot.com/2017/04/photoshop-for-beginners-part-09.html

Follow me on Facebook : https://www.facebook.com/learnwithobhi
Follow me on Twitter   : https://twitter.com/theobhi
Follow me on Google+   : https://plus.google.com/+Muhammadobhi
Follow me on Linkedin     : https://www.linkedin.com/in/mohammedobhi/


Thanks for Watching ,Do not Forget to comment (y)


Thursday, April 6, 2017

Photoshop for Beginners Part 08 (Pen Tool)


Photoshop for Beginners Part 08 (Pen Tool)

Welcome to Photoshop for Beginners tutorials, in this tutorials u will learn how to use pen tool,so stay tunes and watch it free. 

If u think ,This Tutorial is useful for u ,then do not forget to Subscribe :) ur comment will me more appreciate:)


Follow me on Facebook : https://www.facebook.com/learnwithobhi
Follow me on Twitter   : https://twitter.com/theobhi
Follow me on Google+   : https://plus.google.com/+Muhammadobhi
Follow me on Linkedin   : https://www.linkedin.com/in/mohammedobhi/


Thanks for Watching ,Do not Forget to comment (y)


Photoshop for Beginners Part 08,How to use pen tool in photoshop,Adobe Photoshop Tutorial : The Basics for Beginners , Adobe Photoshop CS6 Tutorial for Beginners , Learn Adobe Photoshop, Photoshop Bangla Tutorial , How To Get Started With Photoshop ,Bangla tutorial, Dodge tool, Burn Tool & Sponge tool,pen tool tutorial photoshop.pen tool bangla.

Wednesday, April 5, 2017

Photoshop for Beginners Part 07 (Dodge tool, Burn Tool & Sponge tool)


Photoshop for Beginners Part 06 (Blur Tool,Sharpen tool & Smudge tool)

Welcome to Photoshop for Beginners tutorials, in this tutorials u will learn how to use Dodge tool, Burn Tool & Sponge tool,so stay tunes and watch it free. 

If u think ,This Tutorial is useful for u ,then do not forget to Subscribe :) ur comment will me more appreciate:)


Follow me on Facebook : https://www.facebook.com/learnwithobhi
Follow me on Twitter   : https://twitter.com/theobhi
Follow me on Google+   : https://plus.google.com/+Muhammadobhi
Follow me on Linkedin   : https://www.linkedin.com/in/mohammedobhi/


Thanks for Watching ,Do not Forget to comment (y)